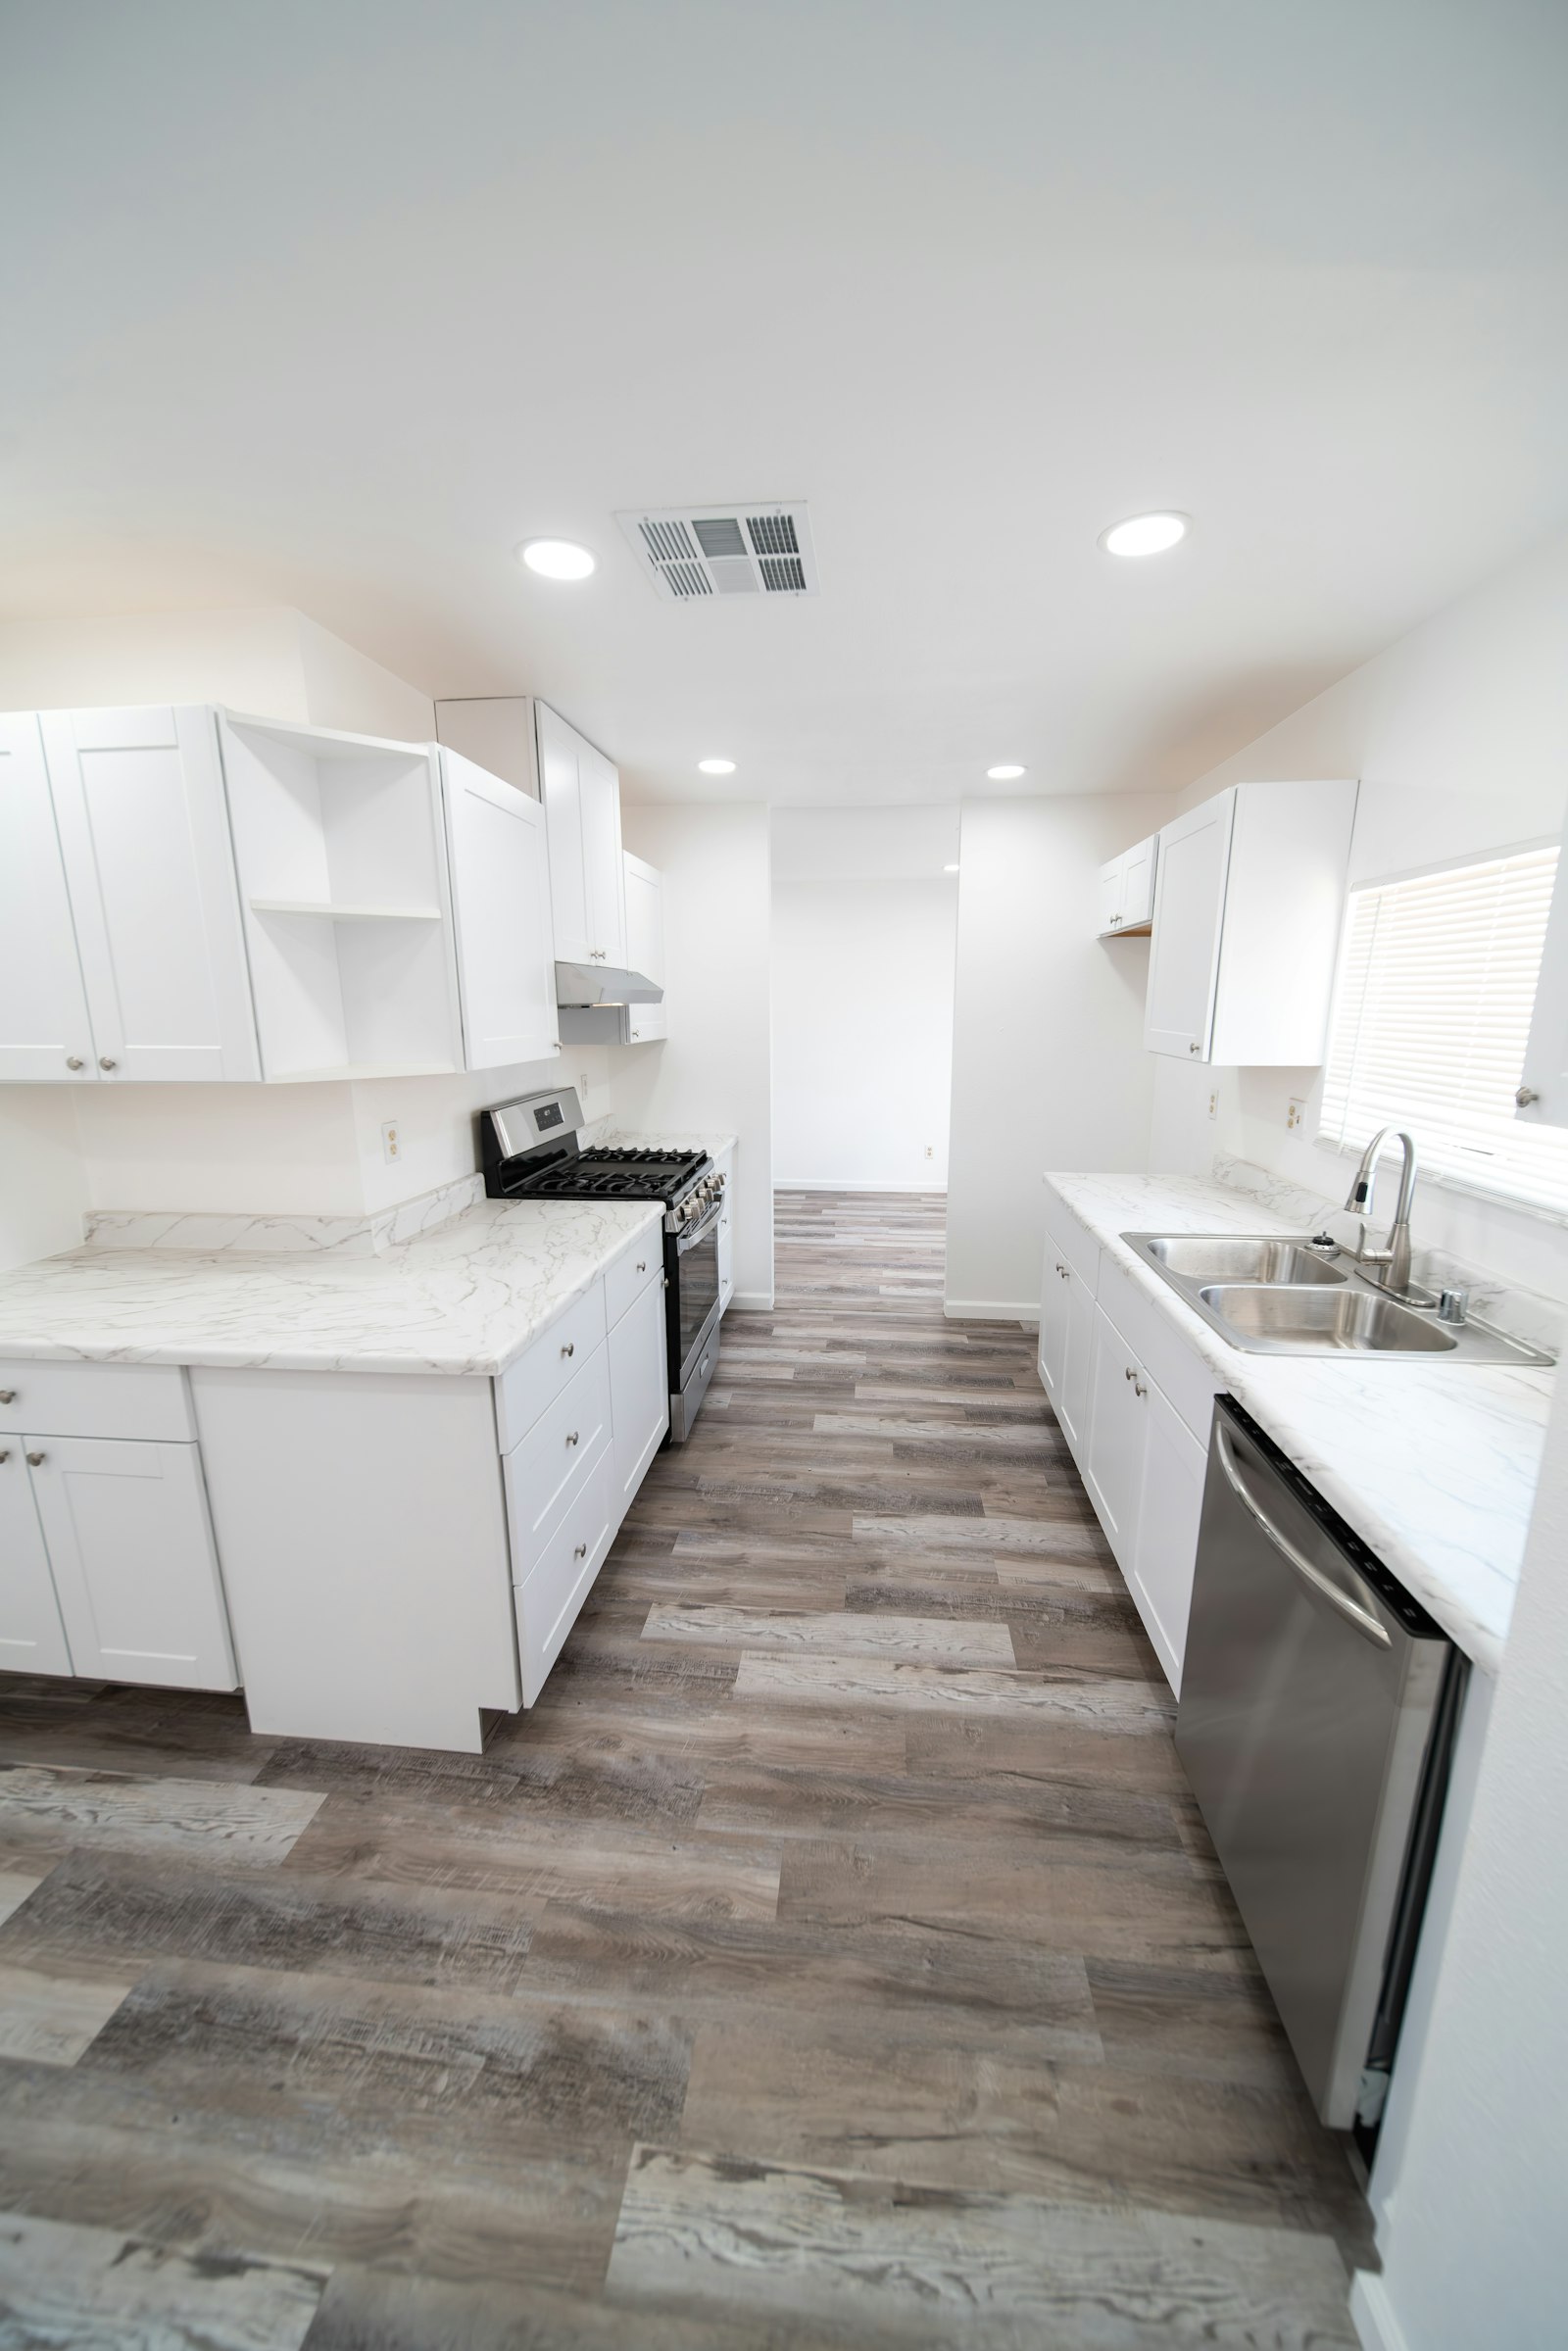
Kitchen Flooring Installation in Santa Clarita, CA
Your kitchen floor takes more abuse than any other floor in the house. Dropped pans, spilled water, muddy shoes, kids and pets all end up here. The right flooring should look great, feel good under your feet and still be easy to clean after a busy week.
We help Santa Clarita homeowners choose and install kitchen flooring that fits their style, their budget and how they actually live.
What to Look for in a Kitchen Floor
- Water resistance: sinks, dishwashers and refrigerators can leak. Your floor should handle spills without swelling or staining.
- Durability: it needs to resist scratches from chairs, pets and dropped items.
- Comfort: you stand in the kitchen a lot. Some materials are easier on your feet and back than others.
- Easy cleaning: Santa Clarita’s dry, dusty summers mean more dirt tracked inside. A floor that sweeps and mops easily saves time every day.
- Style: the floor should work with your cabinets and countertops, not fight with them.
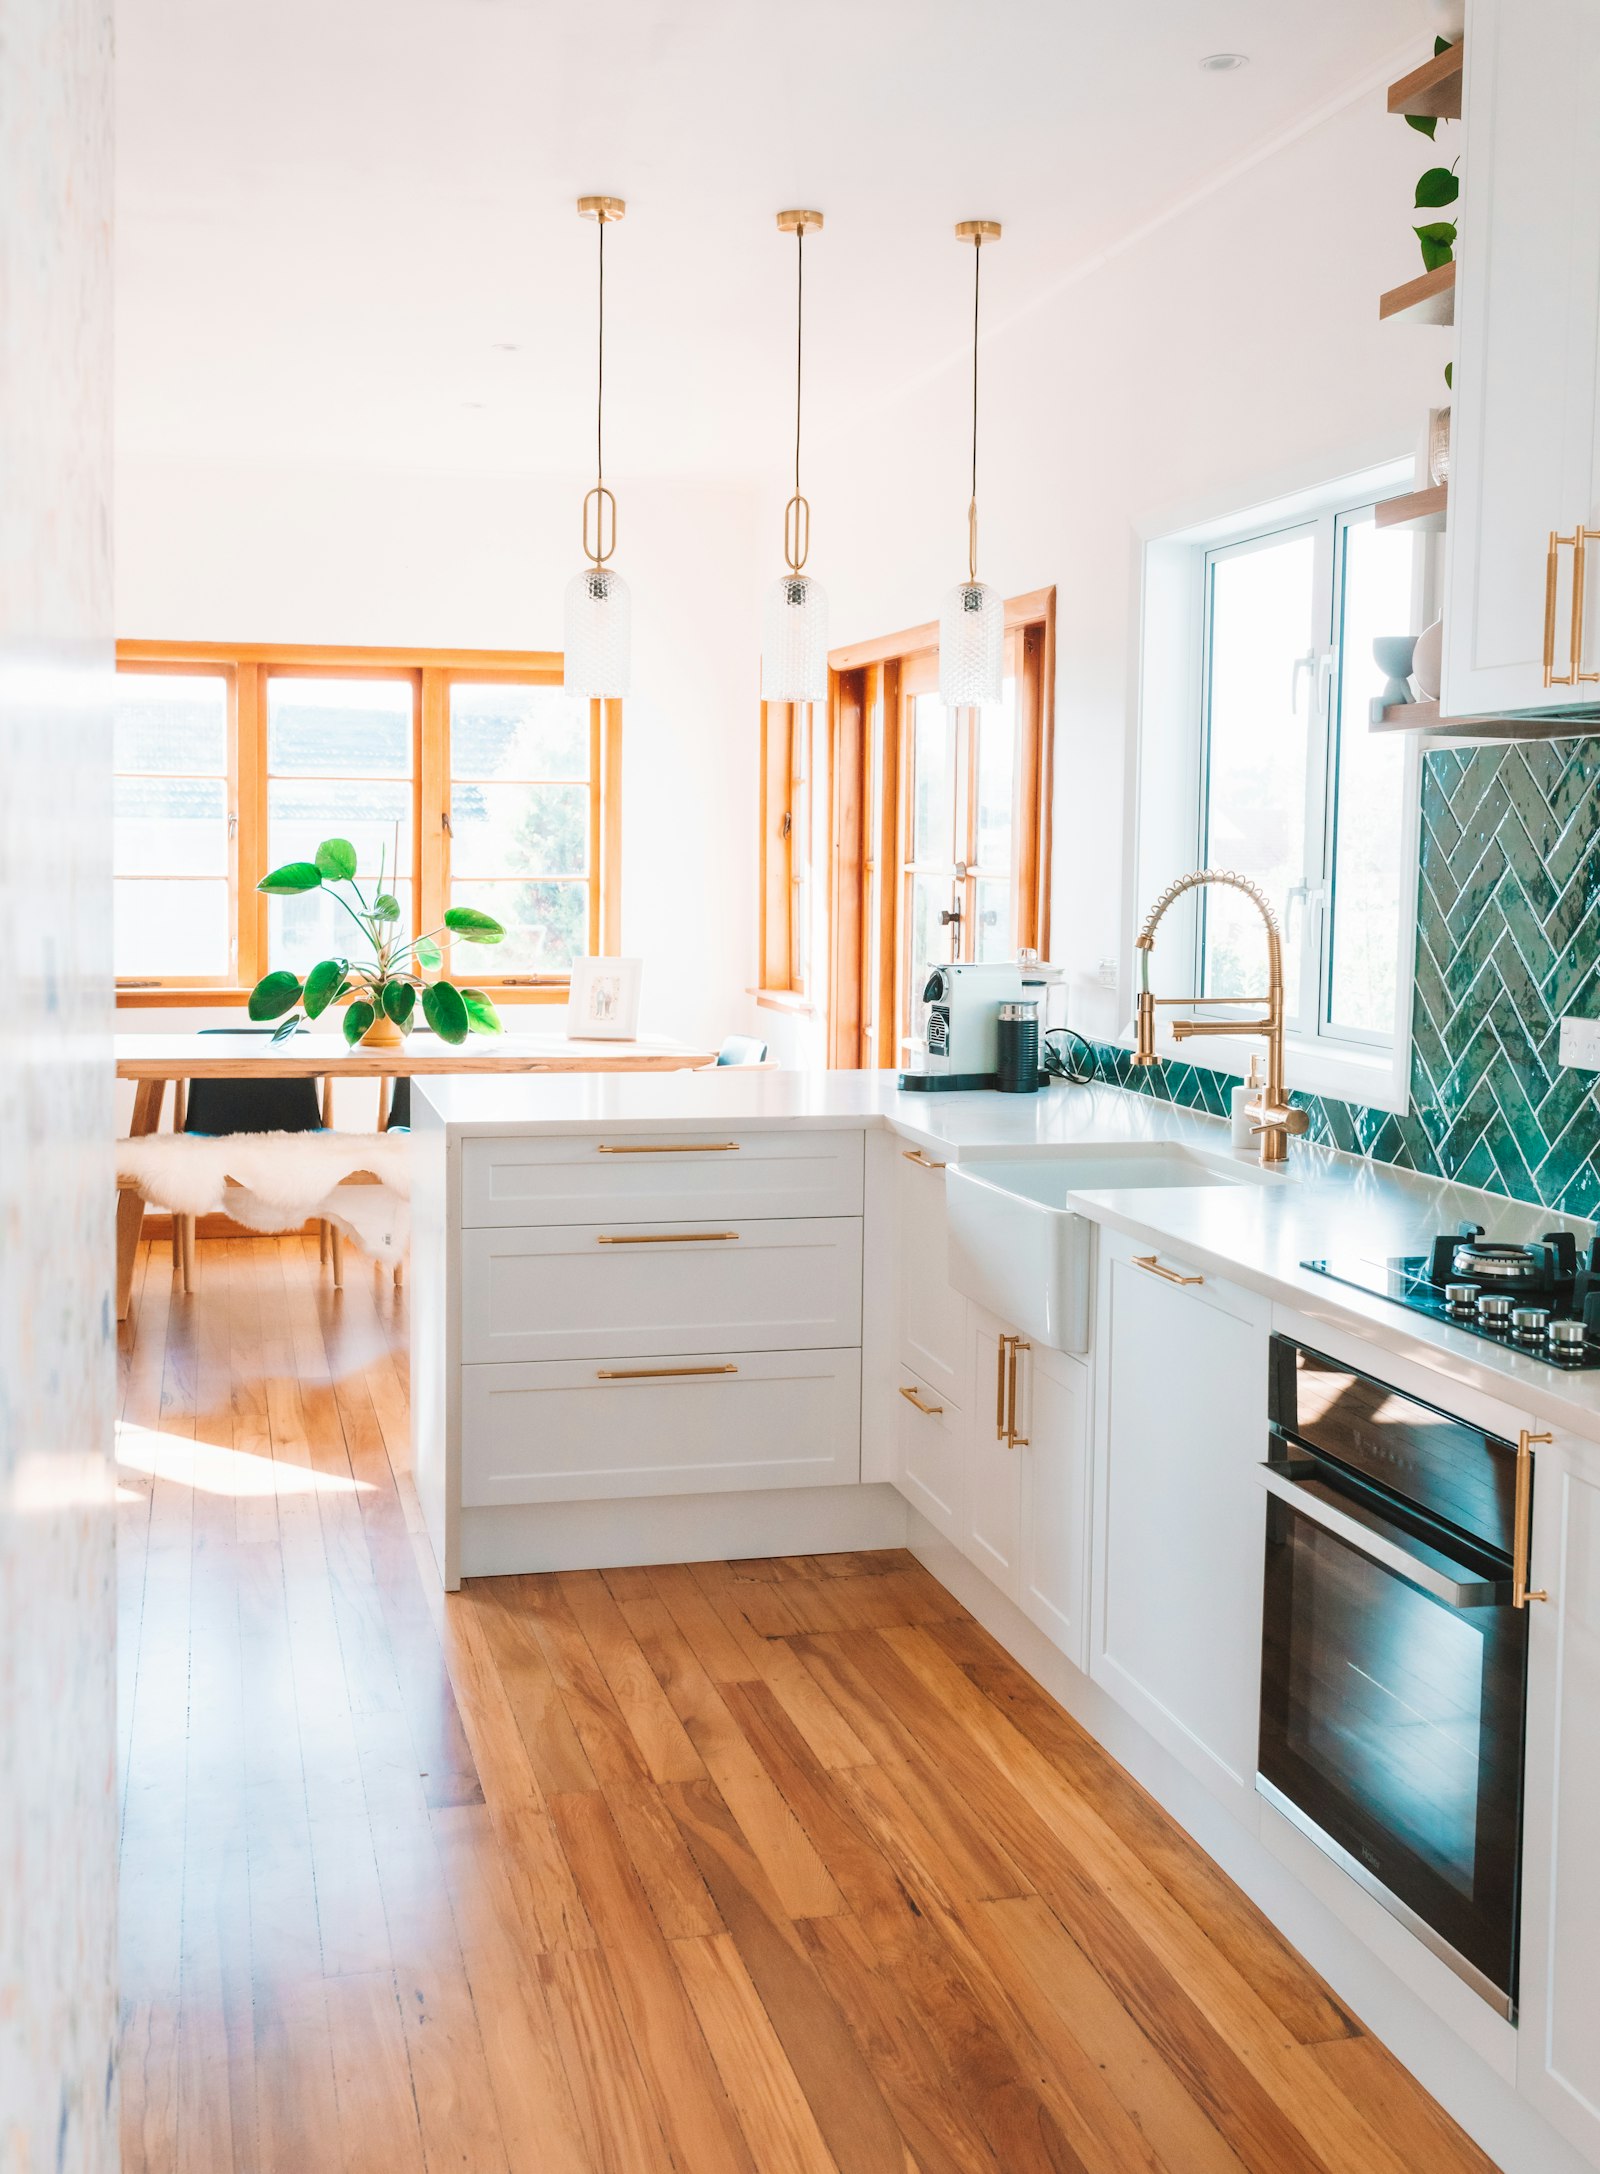
Best Kitchen Flooring Options
Luxury Vinyl Plank (LVP)
This is the most popular kitchen floor we install today. It looks like real wood, it’s waterproof, and it feels softer and warmer than tile. It also handles pets and kids very well. For most busy families, LVP gives the best mix of looks, price and durability.
Porcelain and Ceramic Tile
Tile is extremely tough and fully waterproof. Many homes in Valencia and Saugus already have tile flowing from the kitchen into the living areas, and it stays cool during our long, hot summers. Wood-look porcelain is a great choice if you want the look of hardwood with the strength of tile.
Engineered Hardwood
Engineered wood gives you the warmth of real hardwood with better stability than solid wood. It’s a good fit for open floor plans where the kitchen flows into the dining and living room. It does need quick cleanup of spills.
Natural Stone
Travertine, slate and marble floors bring a high-end, timeless look. They’re very durable but need sealing and can feel hard underfoot.
Our Kitchen Flooring Process
- 1. Free in-home consultation: we measure your space, check the subfloor and talk through your options.
- 2. Choose your floor: we bring samples so you can see colors next to your cabinets and countertops in your own light.
- 3. Removal and prep: old flooring comes out, and we level and repair the subfloor. This step is what makes a new floor last.
- 4. Installation: we install carefully around cabinets, islands and appliances, with clean transitions to other rooms.
- 5. Final walkthrough: we clean up and walk the floor with you to make sure you’re happy.
Kitchen Flooring Cost in Santa Clarita
Your flooring price mainly depends on the size of the area, the material you pick, how much prep the subfloor needs and whether old tile has to be removed. LVP is usually the most budget-friendly, while natural stone and hardwood cost more.
Planning a full remodel? It often makes sense to install the floor at the right stage of the project so it runs neatly under or around new cabinets. We’ll explain the best order for your kitchen during your free estimate.
Should Flooring Go Under Kitchen Cabinets?
This is one of the most common questions we hear. With tile and hardwood, installing under the cabinets can make future layout changes easier. With floating floors like LVP, the floor is usually installed around cabinets and islands so it can expand and contract. We’ll recommend the right method based on the floor you choose and the plans for your kitchen.
Areas We Serve
We install kitchen flooring across the Santa Clarita Valley, including Valencia, Saugus, Canyon Country, Newhall, Stevenson Ranch and Castaic. Want to update more than the floor? See our full kitchen remodeling services or browse backsplash options.
Flooring and Santa Clarita’s Climate
Our valley has hot, dry summers and cooler nights, and some homes sit on concrete slabs while others have raised wood subfloors. These conditions affect how flooring behaves:
- Expansion gaps: floating floors like LVP need small gaps at walls and cabinets so they can expand in the heat.
- Acclimation: wood and some vinyl products should sit in the home for a few days before installation.
- Slab moisture: concrete slabs may need a moisture barrier before wood or laminate goes down.
- Sun exposure: strong afternoon sun can fade some floors over time, so UV-resistant finishes and window coverings help.
Getting these details right is what keeps your new kitchen floor flat, quiet and good-looking for years.
How to Care for Your New Kitchen Floor
The right care keeps your new kitchen floor looking great for years. A few simple habits make a big difference:
- Sweep or vacuum often to remove grit that can scratch the surface.
- Use a damp mop, not a soaking wet one, especially on wood and laminate.
- Place mats in front of the sink and stove to catch spills and drips.
- Add felt pads under chairs and stools to prevent scratches.
- Clean spills quickly, especially on grout and natural stone.
We will give you care instructions for the exact flooring you choose, so you know how to protect your investment.
Kitchen Flooring FAQs
What is the best flooring for a kitchen?
For most families, luxury vinyl plank is the best all-around choice because it’s waterproof, comfortable and affordable. Porcelain tile is the most durable option if you want something that will last for decades.
Is LVP really waterproof?
The planks themselves are waterproof, so spills and small leaks won’t damage them. Large leaks that sit for a long time can still reach the subfloor, so it’s always smart to fix leaks quickly.
How long does kitchen flooring installation take?
Most kitchen floors take one to three days. Tile can take a little longer because the thinset and grout need time to cure.
Can I use my kitchen during the flooring installation?
Parts of the kitchen will be blocked while we work. We plan the job to keep the disruption as short as possible and let you know when you can walk on the new floor.
Do I need to move my appliances?
We can handle moving the refrigerator, stove and dishwasher as part of the project and reconnect them when the floor is done.
Ready for a New Kitchen Floor?
Tell us about your kitchen and we’ll set up a free, no-pressure flooring estimate.